Channel letters on shop fronts, light-up logos on office walls, personalised name signs on desks: a growing share of these are now made with 3D printers. Traditionally, aluminium strip is bent and the letter body is assembled by hand; with 3D printing, the body, inner walls and mounting points can be printed as one part.
Why 3D print a sign?
- Free-form shapes: serif, script or finely detailed fonts are not limited by a bending machine.
- Less labour: body, LED channels and mounting feet come out of one print.
- Personalisation: every letter can have its own size or colour, economically, even as a one-off.
- Industrial scale: large-format systems such as Massivit present solutions for advertising and visual communication at shows like FESPA.
Making 3D lettering, step by step
- Choose the font: keep stroke width at least 8-10 mm for legibility. Very thin serifs do not spread light evenly.
- Model it: extrude the text in Tinkercad, Fusion or Blender; for a light-up sign design each letter as a hollow shell with a separate front cap.
- Set wall thickness: 1.2-2 mm for side walls and 0.6-1 mm of white or translucent material on the light-emitting face work well.
- Plan the LEDs: leave a channel for strip LEDs inside the letter and route the cable out the back. 15-25 mm between LED and face reduces hotspots.
- Pick the material: PLA is fine indoors; use PETG or ASA outdoors where sun and heat hit the sign.
- Finish and mount: sand and prime to hide layer lines; mount with hidden screws or stand-off pins.
Watch the process
The video above shows the full build of an LED letter sign on a desktop 3D printer.
3D design on your desk
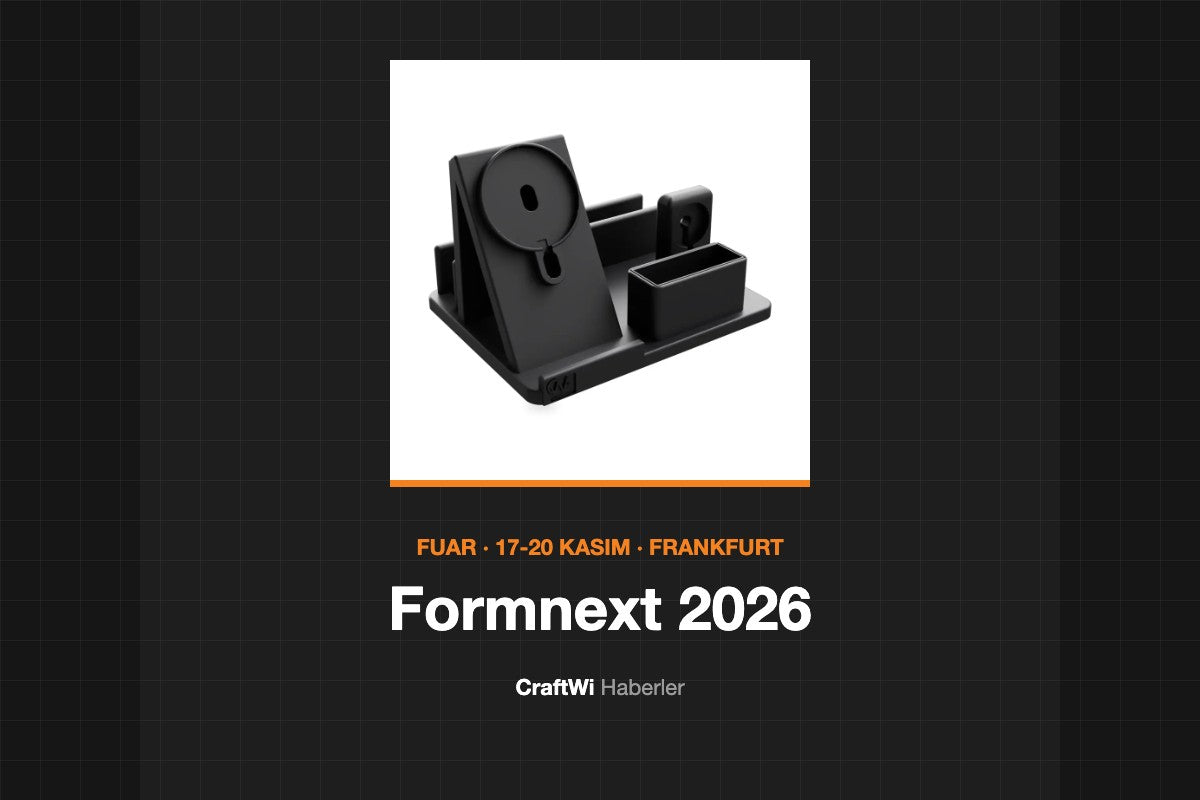
The same principles (right wall thickness, hidden cable channels, a solid base) apply to everyday products. CraftWi charging stands were designed the same way, with cable channels running through the body and geometry optimised for 3D printing.